
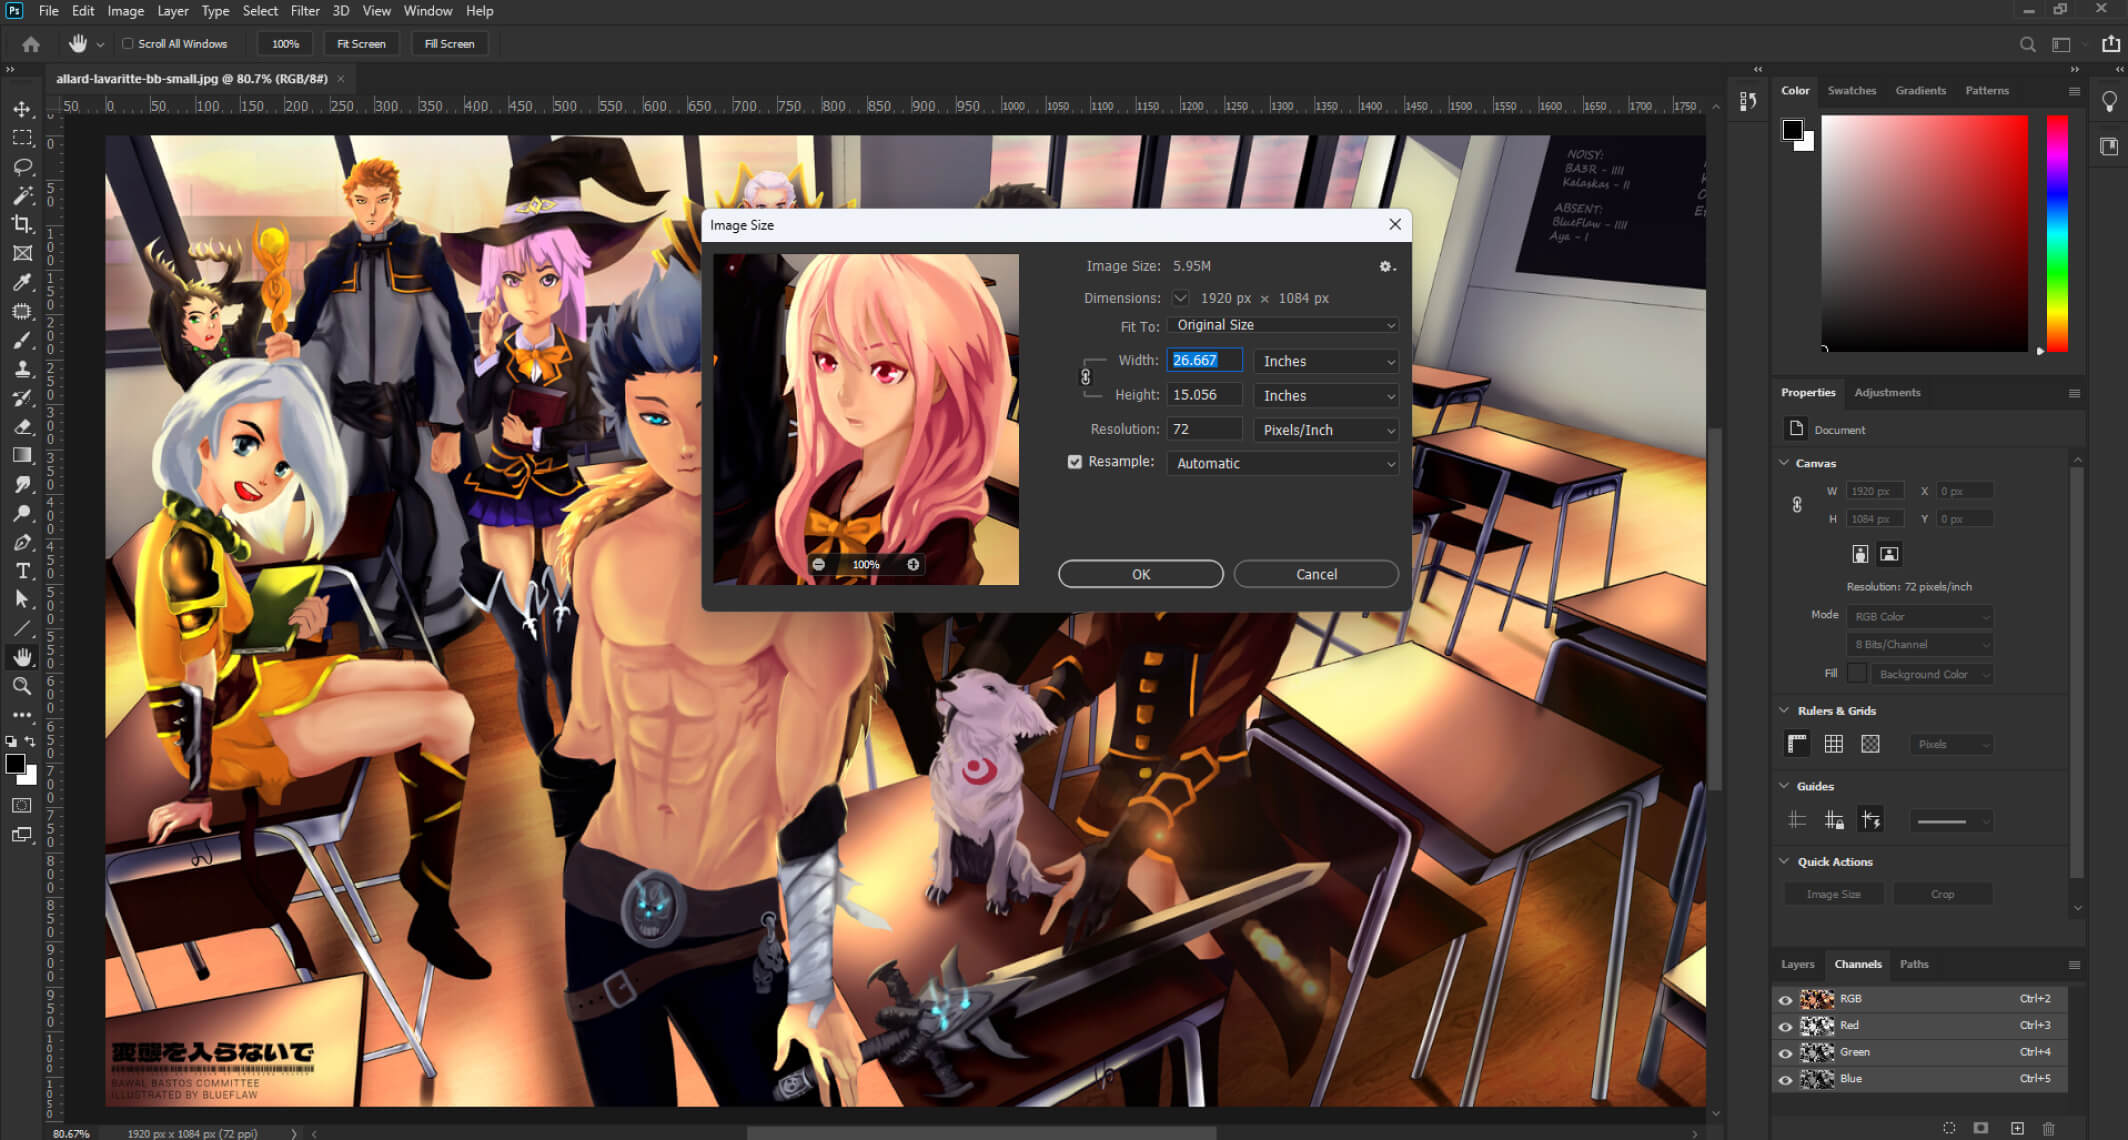
If you’ve ever opened your art software, created a new canvas, and paused—unsure what size to pick—you’re not alone. I used to wing it too. Sometimes it worked out. Other times? Not so much. Halfway through a piece, I’d realize the resolution wasn’t high enough to print, or I’d go too big and end up lagging hard in the middle of blending shadows.
Choosing the right canvas size, resolution, and DPI can feel complicated. So I put together a system that’s simple, beginner-friendly, and doesn’t require a tech manual to follow.
My Go-To Rules for Canvas Sizes
- Posting online only? Start with 2000 px wide (or longer side) and around 1200 px on the short side. That’ll look sharp on most screens.
- Planning to print? Go for at least 3300 × 2550 pixels—that’s enough for an 11″x8.5″ print at high quality.
- Making large prints or merch? Scale up to 6000+ pixels on the long side.
No need to overthink every piece. Pick a size that fits the end goal—screen or print—and you’re already ahead of where I was starting out.
DPI vs. PPI—What You Actually Need to Know
Let’s keep this simple:
- PPI (pixels per inch) = how your art shows up on screen
- DPI (dots per inch) = how your art prints on paper
Even most design apps blur the two terms. What matters is this:
- For printing, always use 300 DPI
- For screens, people used to say 72 PPI—but modern devices look better at 200–300 PPI
My tip: Just default to 300 DPI when creating a canvas. It keeps your bases covered and makes resizing less of a pain later.
Why Canvas Size Actually Matters
Getting it wrong causes one of two problems:
Too Small?
- Looks fine on screen, but pixelates when printed
- Can’t scale up without losing quality
- Feels like trying to turn a sketch into a mural—doesn’t work
Too Big?
- Software slows down
- Brush lag, freezing, and long save times
- May crash your system if you’re working on older hardware
The key is finding that sweet spot between quality and performance.
My Workflow: Balancing Quality & Speed
Here’s how I manage large-scale pieces without wrecking my system:
- Start with the largest size you’ll need (like 7200 × 10800 for a poster)
- Test it—if your software lags, drop the size a bit until it runs smoothly
- Begin with broad strokes and block-ins at a manageable size
- As you add details, gradually scale the canvas up
- Final polish happens at full resolution—by then, the heavy lifting is done
This helps me keep a responsive workspace without sacrificing final image quality. If your system can’t handle high-res work, scale your expectations—or consider upgrading your CPU and RAM. That’s where performance gains matter most for digital painting.
Common Canvas Sizes (So You Don’t Have to Guess)
For Social Media & Online Use:
| Platform | Recommended Sizes |
| 1080×1080 (square), 1080×1350 (portrait) | |
| Twitter/X | 1024×512 (post), 1200×628 (link card) |
| 1000×1500 (portrait) | |
| 1200×630 (post) | |
| ArtStation | 1920 or 3840 px width |
| DeviantArt | 1920×1080 |
| Personal site | 1920×1080 or 2560×1440 |
| Wallpapers | 1920×1080, or 2560×1440 for high-res |
For Prints:
| Paper Size | Pixel Dimensions (@ 300 DPI) |
| US Letter (8.5×11) | 2550×3300 |
| A5 | 1748×2480 |
| A4 | 2480×3508 |
| A3 | 3508×4960 |
| 11×14″ | 3300×4200 |
| 12×18″ Poster | 3600×5400 |
| 18×24″ Poster | 5400×7200 |
| 24×36″ Large Poster | 7200×10800 |
For Merch (Printful, Redbubble, etc.):
| Item | Canvas Size |
| T-shirt | 3600×4800 |
| Mug | 2700×1050 |
| Phone case | 879×1830 |
| Postcard (5×7) | 1500×2100 |
👉 You can check out my designs here: My Redbubble Shop.
Tip: Bookmark this list or save it somewhere handy. It’ll save you a lot of guessing later.
New to Digital Art? Here’s Where to Start Faster
When I was learning, I cobbled together advice from YouTube, forums, and trial-and-error. If you want a faster, smoother start, these beginner-friendly courses helped me or people I trust:
- Intro to Procreate by Brooke Glaser
- Photoshop Demystified by Gabrielle Brickey
- Clip Studio Basics by Asia Noble
- Krita for Beginners by Widhi Muttaqien
You can find them all on Skillshare—and you can usually grab a free month to explore and learn without rushing.
Final Thoughts
Choosing the right canvas size and resolution doesn’t have to be stressful. A little planning up front makes your art sharper, your process smoother, and your files ready for wherever your work ends up—on Instagram, in print, or on a hoodie.
Take five extra minutes to set your canvas right—and your future self will thank you when it’s time to export.
Discover More Posts
Keep exploring stories, insights, and creative notes from my journey as an artist. Check out the latest blog entries and find topics that inspire your own process.
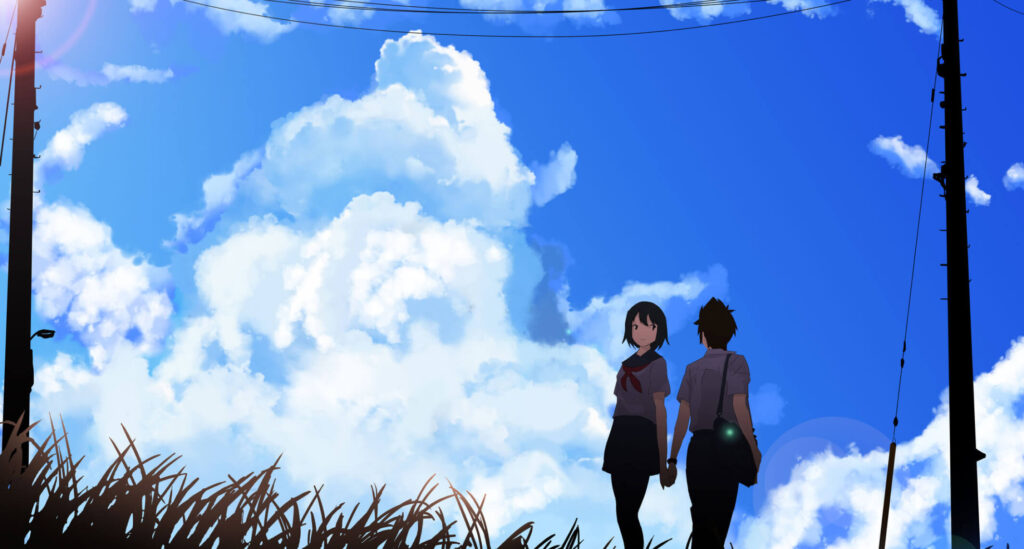
How to Draw Stunning Anime Clouds
Learn to draw anime-style clouds with this easy, step-by-step cloud tutorial. You’ll pick up tips on shapes, color, and composition—plus get free cloud brushes to use in your own art.
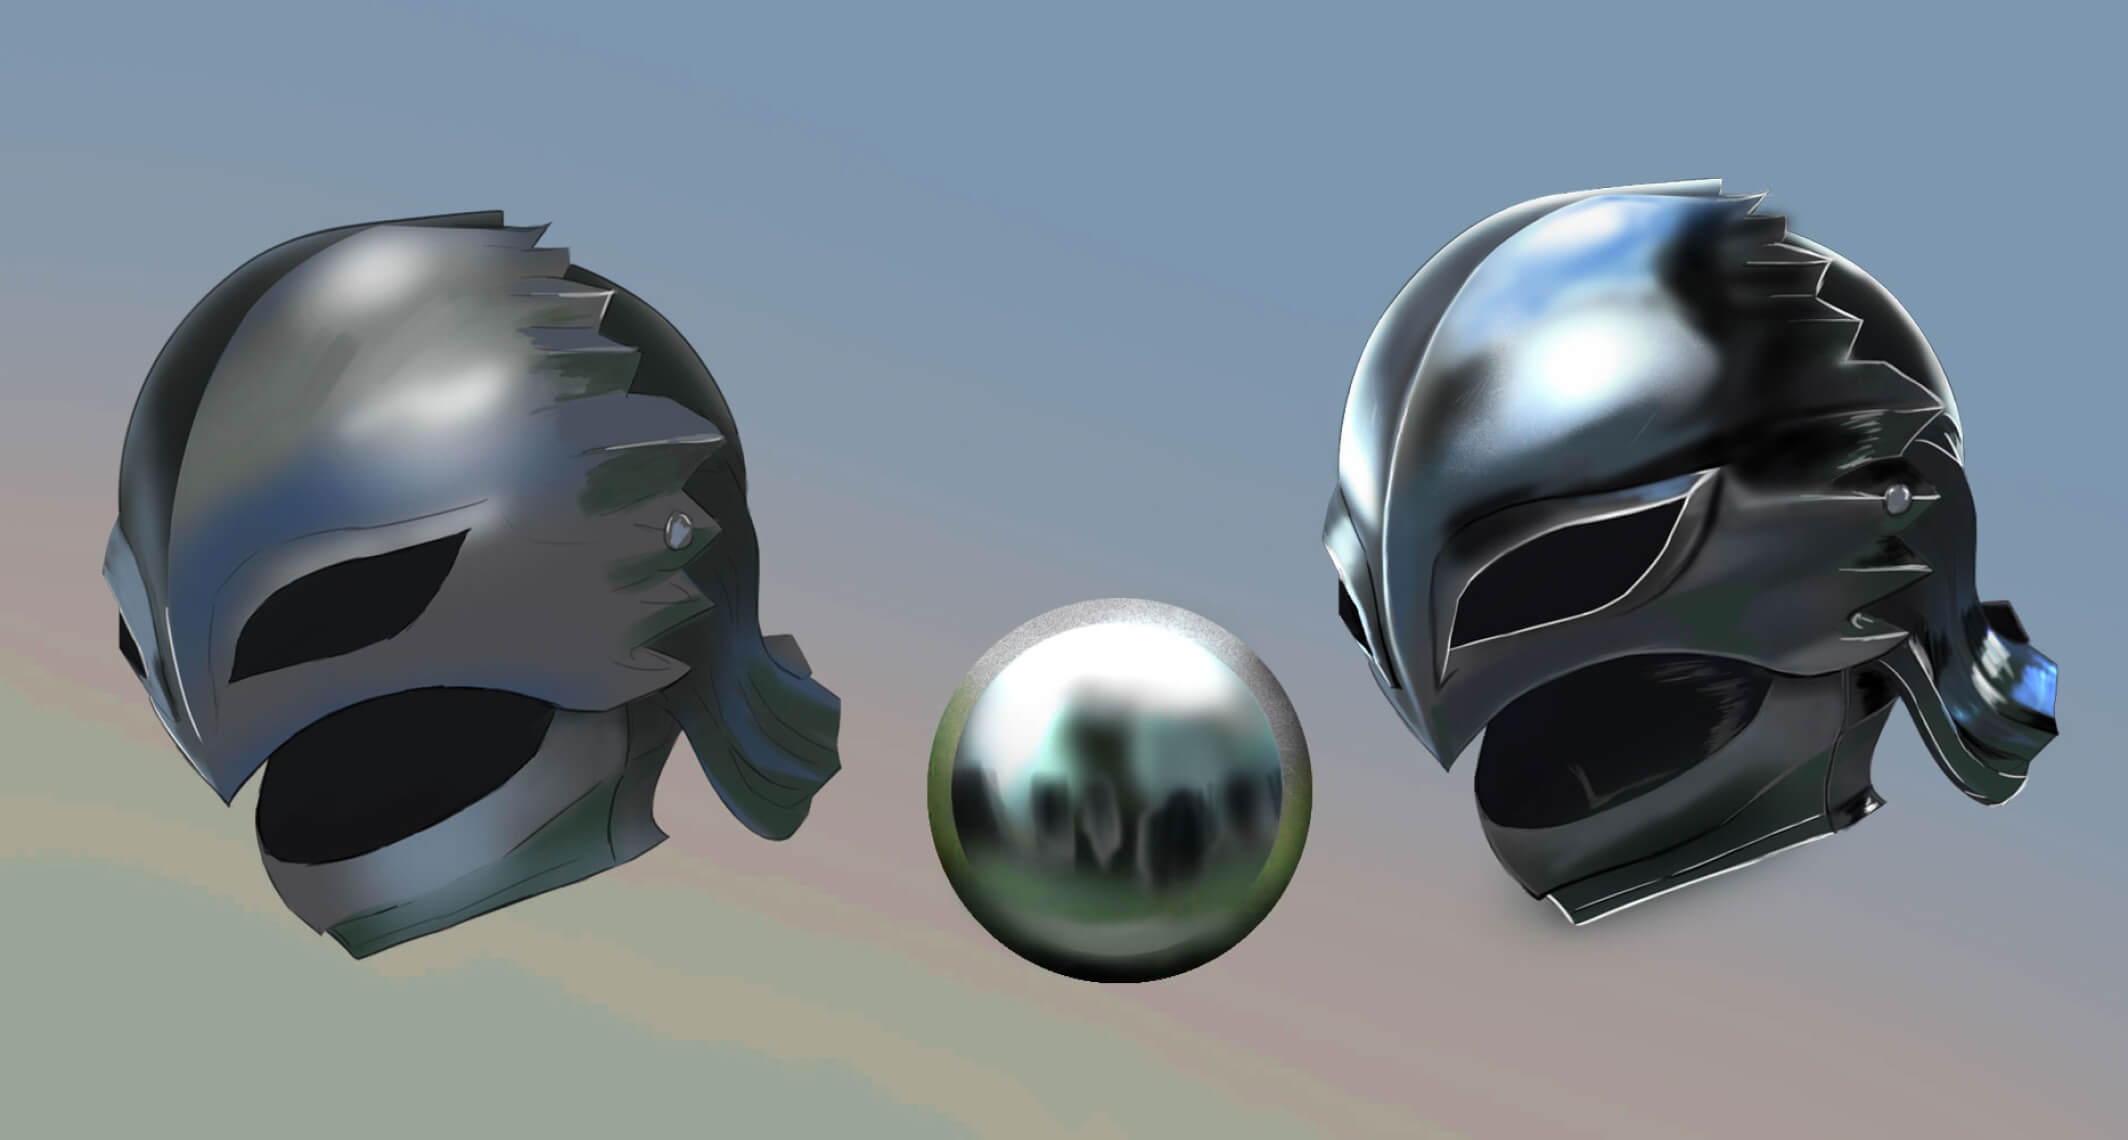
How to Paint Realistic Metal
Learn how to paint realistic metal with this step-by-step guide. From base colors to to lighting and reflections, get practical tips for your artwork shine, literally.
Color Theory Made Simple: A guide for Beginner Artist
New to Digital painting? This beginner-friendly guide breaks down hue, value, saturation, color harmonies, and practical tips to help you choose better palettes and level up your art.